

My son and I went to our first trip to a LEGO store. It was in a neighboring state and we drove all the way there with the sole purpose of buying LEGO.
I've created the post mainly to show how I packed the LEGO into the PAB container. At the time of the visit containers this size were somewhere between $16-18 each.
For those that have never visited a PAB brick wall basically there is a wall with LEGO elements (parts and colors divided into different bins by parts (colors and types). The elements that are available change. I'm guessing its items that LEGO has a surplus of for whatever reason. Customers pay the price that I mentioned for as many LEGO elements as they can fit into the cup. There is also another smaller cup (lower price) but the larger cup is the better value. IF one can find parts that interest them this is the cheapest way to purchase LEGO elements (usually cheaper than ebay, bricklink, LEGO shop@home PAB, and LEGO bricks&pieces).

The staff at the LEGO store that we visited in Ohio were incredibly nice.
They taped the lid onto the top of this one for me.


All of the parts that you see in the photo on the left fit into the one cup! I'll show you how I packed all of those into one cup further down.
Packed loosely into cups wastes space. To the left you can see the cup full of loose parts AND the parts that I was able to fit into the cup by packing them more carefully.


FIRST fill this "ring" space with as many SMALL parts as you can. Do this until the level is flush with the top of the raised "stud" space at the bottom of the cup.

Don't add the purple parts that I've shown in the cup YET.
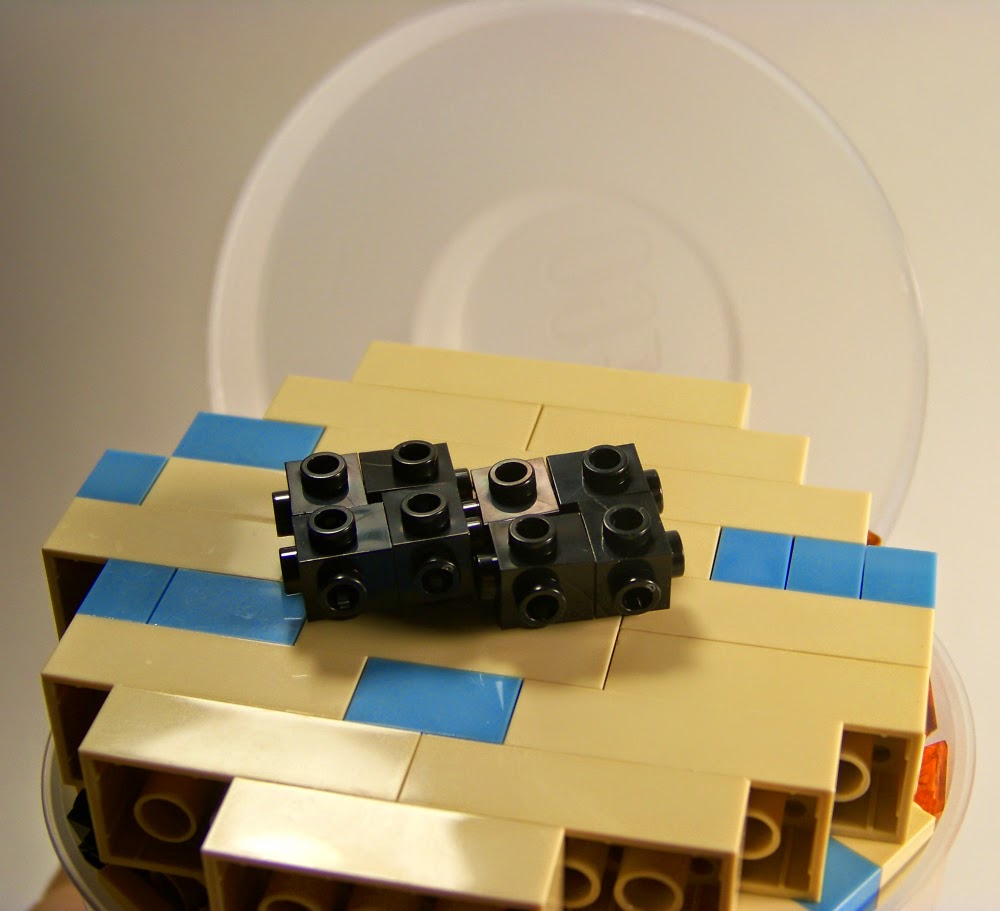
First you want to make "circle" walls with bricks as in a similar fashion that I've shown in the NEXT photo.
Then they will be stacked as I've shown (left photo). Notice the layer at the bottom is smaller than the top layer. This mimics the shape of the cup so that little space is wasted.

NEXT (next photo) stack these "layers" into the cup.
Then (next photo) fill the remaining space around the "layers" of basic bricks. I kept piling small plates and tiles (1x1 or 1x2 sizes) onto the top and then SHAKE the cup slightly so that these small parts work their way down into the cup. Keep doing this until you have filled the remaining space around the "layers" of bricks.

The lid was shut and taped down.

By packing everything carefully I was able to fit everything that you see in the photo into ONE cup.


Repeating until I reached the top of the cup.


I wish that I had more time to organize the photo's into a more logical sequence and to plan my written instructions but I don't.
I do hope that my experience helps others though. Please don't hesitate to comment if you have questions.
As always thanks for reading. Best wishes.
No comments:
Post a Comment